Showing posts with label thrift store. Show all posts
Sunday, March 24, 2013
Made It: Crayon Eggs
Can you guess what kind of Easter craft these might go into??? Oh right, I totally gave it away in the title...
Ever since I had gestational diabetes with my second baby, I've been a bit worried about my sugar intake, as well as my 3 year old's. And there's nothing like a holiday to rake in the sugary treats!! (I know it probably seems like this stance contradicts the last post, but those chocolates are actually very low in sugar!)
So I struggle to come up with an appealing Easter basket for my sweet boy that isn't just loaded with treats. I'll probably put one or two in there, and I am quite sure he'll get his fill from relatives eager to give him good stuff, so you don't have to be worried that he's totally deprived.
Anyway! Back to the craft. I had been wanting to make this little cutie, but not entirely sure how. Various websites advise either filling plastic egg halves with wax and sandwiching them together or using a certain jello egg mold. I figured it would be next to impossible to find the mold (though it sounded much easier!) so I set out on a quest to my local thrift stores for old crayons and plastic eggs. I did not find a single crayon in any of the 3 shops I checked, but I did find the egg mold!!! UNBELIEVABLE!!! Still had the tag on with instructions and everything. So after first making my boy a few jello eggs... I was ready to get started!
Step 1: peel and sort crayons
Step 2: admire the rainbow
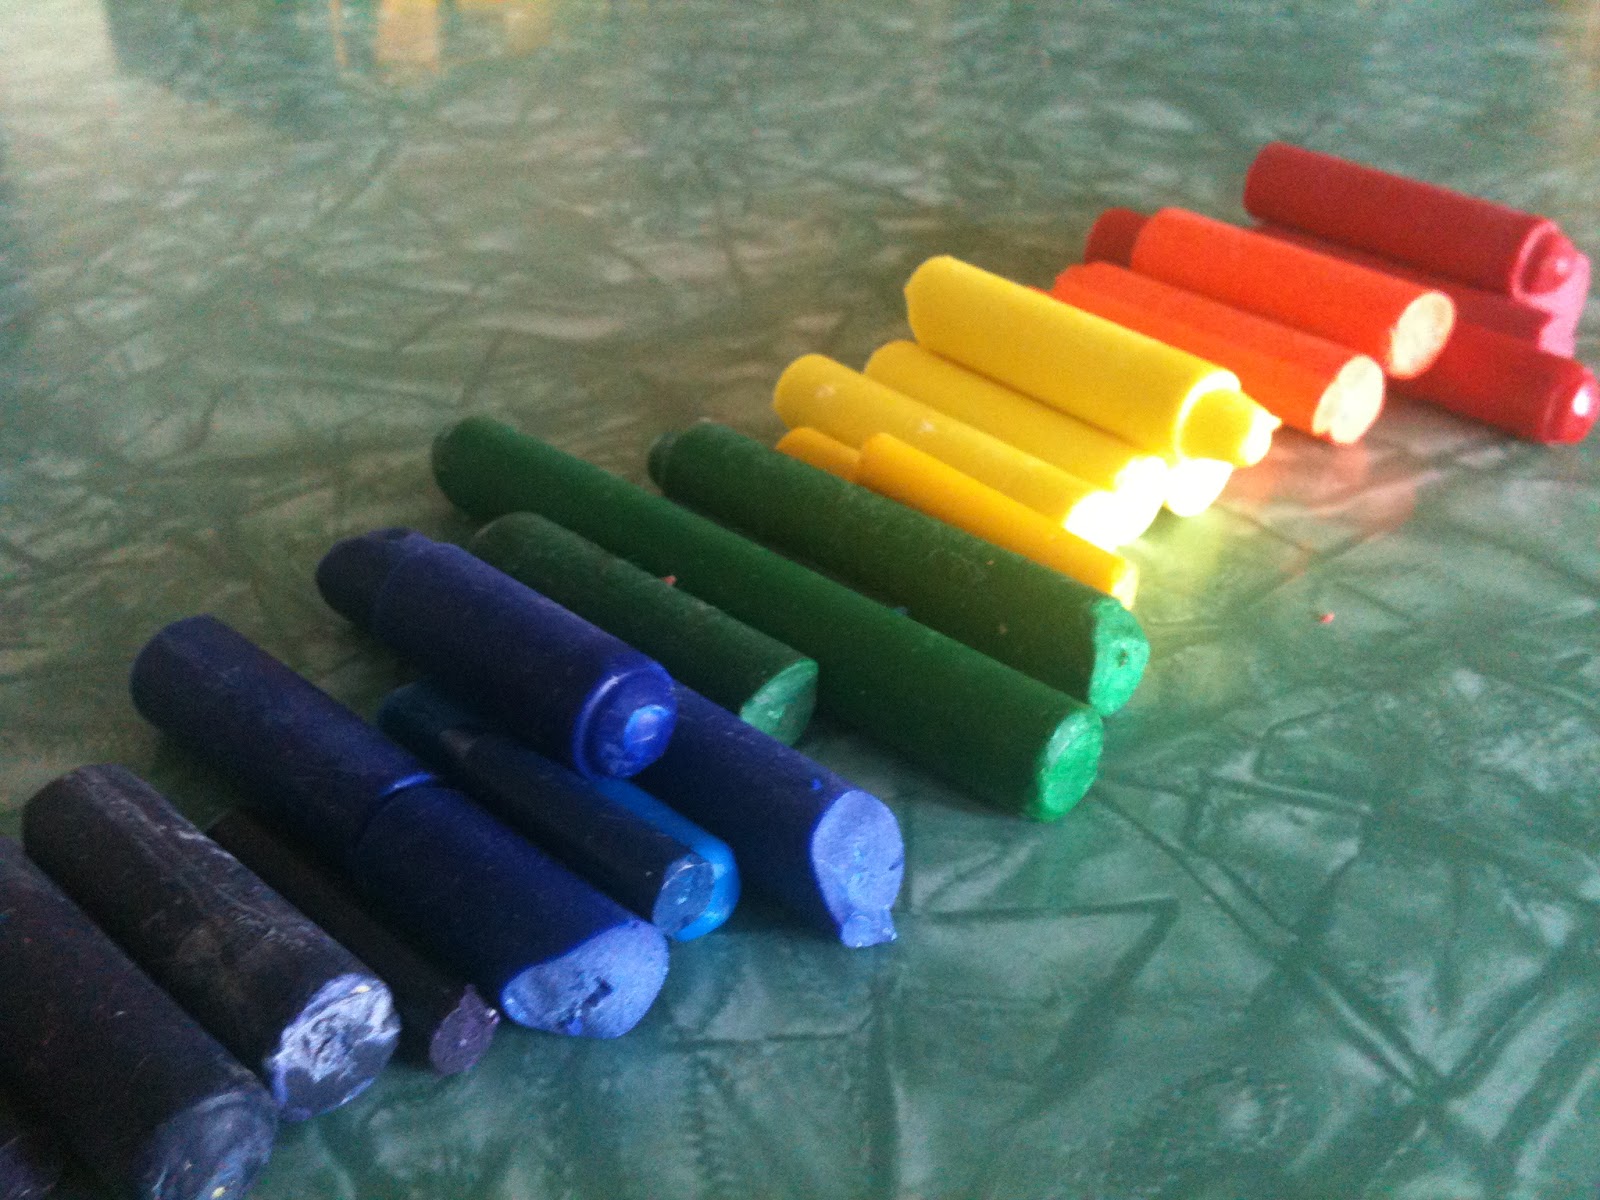
Step 3: melt crayons. I used clean tin cans in a water bath in my electric frying pan. I don't know how other people do it, but I remember my mom using this method when she would make batiks when I was little. Worked like a charm! The only bad part was when I dropped a tiny piece of yellow crayon in the water bath and it started melting instantly. I was worried I'd have to throw the frying pan away, but it looks as though I've managed to get all the wax off. Phew! You know how it is when your brother uses your mom's iron to wax his skis and then the iron forever after smells like ski wax? Oh you don't? Well, it's gross, and you don't want your pancakes smelling or tasting like melted crayon. If that happens I suppose I'll have to toss it...
Step 4: gently and slowly pour melted crayon into molds. I pinched each can into a sort of pouring spout to make this easier. And it turns out that these molds are HUGE. I thought for sure I had enough of each crayon to fill the molds, but none of them were much more than half full. However, I think this is probably better. A whole jumbo-sized crayon egg would be pretty tricky to draw with.
Step 5: pop those babies out and stick 'em in an egg carton. Cute! I think the reason some of them look a little funny is because of some residual oil left on them after I made the jello eggs. I figured it would probably help make them come out easier, but it ended up almost preventing the wax from setting in those spots.
This is what the backs look like, which I think is almost as good.
Wednesday, June 1, 2011
Made It (sort of): Wool Dryer Ball
I cannot BELIEVE I'm writing this now, as I have a ton of stuff to do tomorrow and should really go to bed, but I've been totally neglecting the blog, and and and and AND.
Several months ago I was given the suggestion to make some felted wool dryer balls. I've never been one for fancy washing routine, and since I haven't ever used something like dryer sheets, I figured a dryer ball would be just as unnecessary. Who cares about static? However, I have since learned that dryer balls do not just reduce static in your laundry, they bounce around in there with your clothes and loosen everything up, helping to shorten the time needed to dry your clothes.
SO. I decided to try to make one of my own. I know that wool yarn can be expensive in stores - heck, even a nice poly blend can be expensive. I sure as shootin' wasn't going to go to a fancy yarn store to get my supplies for this project. So I combed the thrift shops to the best of my ability. The funny thing about yarn though, is that people often call any kind of yarn "wool." Even if it's polyester. And since thrift store yarn is often wrapped and you can't feel it, it's hard to tell just exactly what it's made of. However, I did remember that Dave's Christmas present was made of awfully scratchy cream coloured yarn - most likely wool - and I had quite a bit left over.
So I followed the instructions (basically just wind your wool into a tight ball about 1.5 " then wash inside a sock, then add more to be about 3 " in diameter, wash in a sock again until it's felted).
I generally don't wash in hot water and dry in the dryer, especially as the weather is getting nicer for outdoor drying, so I may have cut the last couple steps short. When I washed my diapers this afternoon (a grey and rainy day) I rejoiced at the chance to use my wonderful new dryer ball! But this is what came out of the washing machine:
I believe I uttered the words "laundry disaster."
Lesson learned. Follow the instructions until the project is finished. Luckily, this was only the outer layer, so I may still be able to salvage my dryer ball .
Several months ago I was given the suggestion to make some felted wool dryer balls. I've never been one for fancy washing routine, and since I haven't ever used something like dryer sheets, I figured a dryer ball would be just as unnecessary. Who cares about static? However, I have since learned that dryer balls do not just reduce static in your laundry, they bounce around in there with your clothes and loosen everything up, helping to shorten the time needed to dry your clothes.
SO. I decided to try to make one of my own. I know that wool yarn can be expensive in stores - heck, even a nice poly blend can be expensive. I sure as shootin' wasn't going to go to a fancy yarn store to get my supplies for this project. So I combed the thrift shops to the best of my ability. The funny thing about yarn though, is that people often call any kind of yarn "wool." Even if it's polyester. And since thrift store yarn is often wrapped and you can't feel it, it's hard to tell just exactly what it's made of. However, I did remember that Dave's Christmas present was made of awfully scratchy cream coloured yarn - most likely wool - and I had quite a bit left over.
So I followed the instructions (basically just wind your wool into a tight ball about 1.5 " then wash inside a sock, then add more to be about 3 " in diameter, wash in a sock again until it's felted).
I generally don't wash in hot water and dry in the dryer, especially as the weather is getting nicer for outdoor drying, so I may have cut the last couple steps short. When I washed my diapers this afternoon (a grey and rainy day) I rejoiced at the chance to use my wonderful new dryer ball! But this is what came out of the washing machine:
I believe I uttered the words "laundry disaster."
Lesson learned. Follow the instructions until the project is finished. Luckily, this was only the outer layer, so I may still be able to salvage my dryer ball .
Wednesday, May 4, 2011
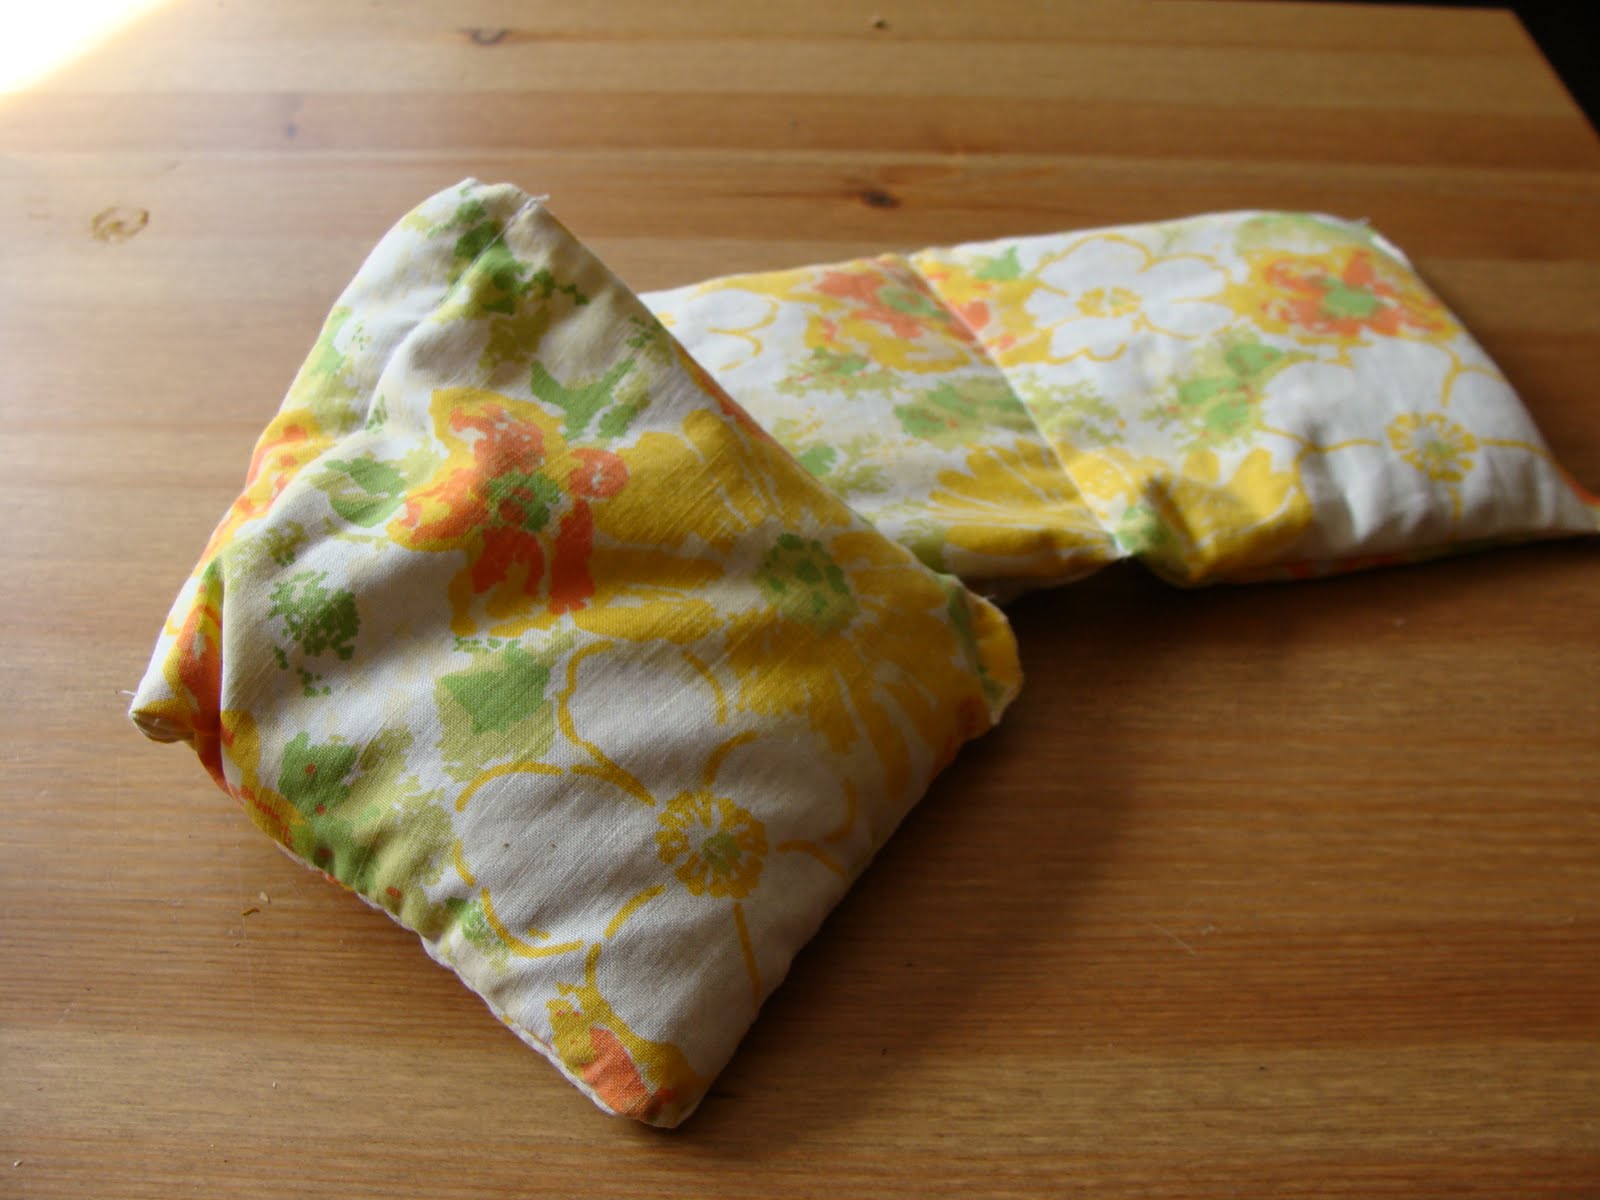
Week 18: Wheat Bag Rejuvenation
In my opinion, the best reason (and for a while it was the only reason) to have a microwave is to heat up a lovely wheat bag. It's the beginning of May and I still use one (or two, or three) every night. I love having a toasty warm bag of wheaty goodness at my toes as I drift off to slumber. For a few years we didn't have a microwave, and I lamented the loss of my wheat bag every night. Heating pad, hot water bottle... nothing else quite comes close.
With all that use, my wheat bags inevitably break down after a while. I generally ask my MIL for a new one every Christmas, but even though I have 2 lovely new bags, I feel bad for the 2 sitting in my closet weeping little wheat tears. Instead of chucking this guy out, or letting him languish, I decided to give him a little sprucing up!
2) Inside out, sew sides, leaving about a 4" opening to turn inside out. I just left one whole short side.
3) Be sure to use small stitches and go over it twice just for security's sake. You don't want wheat escaping all over the place when you use this bad boy. I also serged to be safe.
4) Turn right side out and transplant wheat.
5) *optional step* Sew evenly spaced compartments so the wheat doesn't pool on one side of your bag. (I only do this with long skinny ones, not squarish ones.) It's best to do this as you fill it so you avoid sewing over wheat kernels.
6) Sew up the open side. Twice.
With all that use, my wheat bags inevitably break down after a while. I generally ask my MIL for a new one every Christmas, but even though I have 2 lovely new bags, I feel bad for the 2 sitting in my closet weeping little wheat tears. Instead of chucking this guy out, or letting him languish, I decided to give him a little sprucing up!
This one's totally simple. Take the wheat out of the ripped bag, make a new bag, and fill it with the old wheat. I used the bottom of a vintage pillowcase I got at the thrift store, since I was feeling lazy and didn't want to sew too much!
So here are the steps:
1) Cut fabric to your desired size. I went slightly longer and skinnier for the new version.
2) Inside out, sew sides, leaving about a 4" opening to turn inside out. I just left one whole short side.
3) Be sure to use small stitches and go over it twice just for security's sake. You don't want wheat escaping all over the place when you use this bad boy. I also serged to be safe.
4) Turn right side out and transplant wheat.
5) *optional step* Sew evenly spaced compartments so the wheat doesn't pool on one side of your bag. (I only do this with long skinny ones, not squarish ones.) It's best to do this as you fill it so you avoid sewing over wheat kernels.
6) Sew up the open side. Twice.
Saturday, April 30, 2011
Week 17: Easy Peasy Wall Hangings
(April 28, 2011)
This here's a project I've been sitting on for quite some time, but just never had the oomph to do. Or something. I'm not exactly sure why I never did it because it is dead easy and I had all the materials, but there you are...
It's a very easy no-sew fabric project, it adds a nice touch to a bare wall, and is a temporary decorative piece for renters like us! Also, I love the fact that you can use patterns that may have sentimental value to you. My mom's always using bits of scrap that came from other memorable projects. "This one was a maternity shirt, this one was your baby curtains, this was a work shirt of dad's..." Of course, I am just starting out my lifelong fabric stash, so this was all new (to me from the thrift store).
Stuff you need:
- wood embroidery hoops of varying sizes
- fabrics about an inch wider than each hoop
- glue
- tacks
- fabric scissors
What you do:
1) Cut out the fabric to be about an inch wider all around one of your hoops.
2) Separate the inner from the outer hoop.
3) Lay the fabric over the inner hoop. Push the outer hoop down over it to sandwich the fabric between, making sure that it "catches" all the way around. Pull fabric taut.
4) Secure hoop by tightening the little screws.
5) Glue down excess fabric at the back. I just used a little bit of glue stick to gently hold it down to the back of the wood, in the hopes that if I ever choose to change the fabric or even *gasp* embroider something, I might be able to get this fabric out.
6) Step back and admire your handiwork.
7) Arrange and hang on walls to your preference. I just used one regular thumb tack per hoop.
PS - Sorry I've been away so long. Just had a huge dry spell with no creative mojo and no motivation. I've got a few more up my sleeve, so hopefully I'll be back in the swing of things from now on!
This here's a project I've been sitting on for quite some time, but just never had the oomph to do. Or something. I'm not exactly sure why I never did it because it is dead easy and I had all the materials, but there you are...
It's a very easy no-sew fabric project, it adds a nice touch to a bare wall, and is a temporary decorative piece for renters like us! Also, I love the fact that you can use patterns that may have sentimental value to you. My mom's always using bits of scrap that came from other memorable projects. "This one was a maternity shirt, this one was your baby curtains, this was a work shirt of dad's..." Of course, I am just starting out my lifelong fabric stash, so this was all new (to me from the thrift store).
Stuff you need:
- wood embroidery hoops of varying sizes
- fabrics about an inch wider than each hoop
- glue
- tacks
- fabric scissors
What you do:
1) Cut out the fabric to be about an inch wider all around one of your hoops.
2) Separate the inner from the outer hoop.
3) Lay the fabric over the inner hoop. Push the outer hoop down over it to sandwich the fabric between, making sure that it "catches" all the way around. Pull fabric taut.
4) Secure hoop by tightening the little screws.
5) Glue down excess fabric at the back. I just used a little bit of glue stick to gently hold it down to the back of the wood, in the hopes that if I ever choose to change the fabric or even *gasp* embroider something, I might be able to get this fabric out.
6) Step back and admire your handiwork.
7) Arrange and hang on walls to your preference. I just used one regular thumb tack per hoop.
PS - Sorry I've been away so long. Just had a huge dry spell with no creative mojo and no motivation. I've got a few more up my sleeve, so hopefully I'll be back in the swing of things from now on!
Subscribe to:
Posts (Atom)