Showing posts with label sew. Show all posts

Wednesday, May 4, 2011

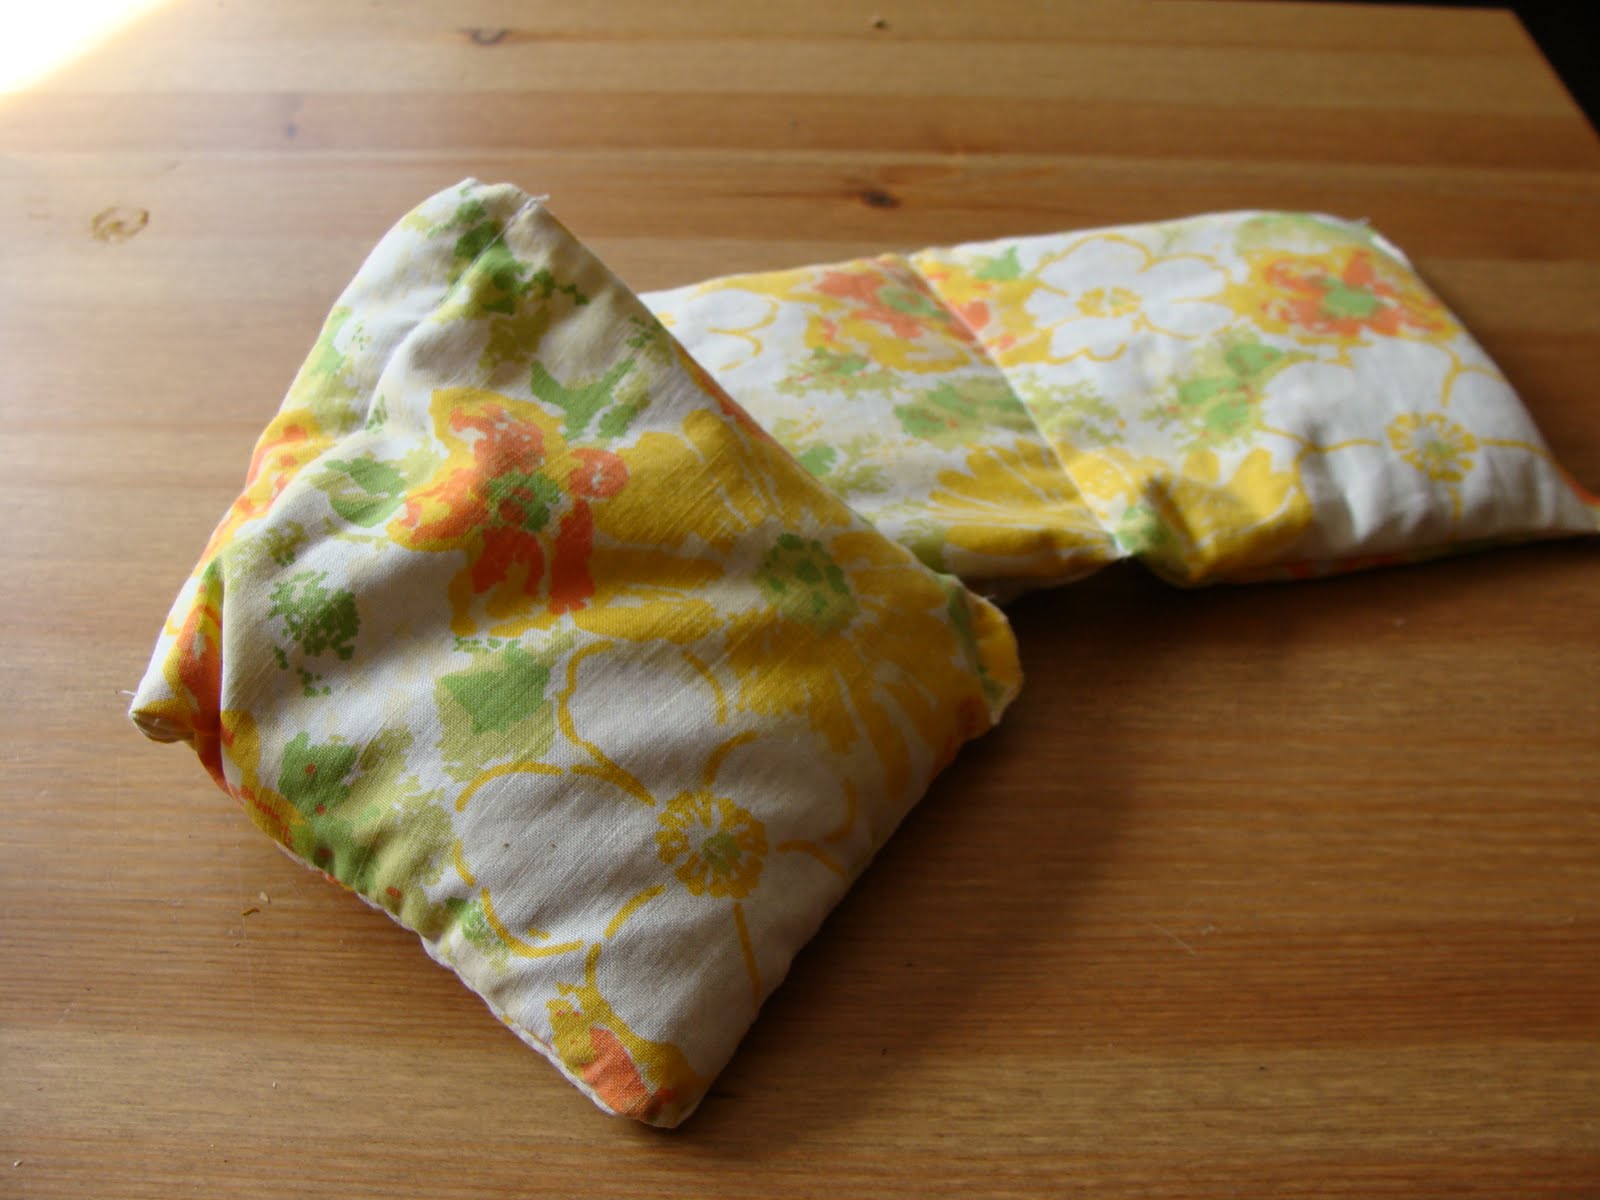
Week 18: Wheat Bag Rejuvenation

In my opinion, the best reason (and for a while it was the only reason) to have a microwave is to heat up a lovely wheat bag.  It's the beginning of May and I still use one (or two, or three) every night.  I love having a toasty warm bag of wheaty goodness at my toes as I drift off to slumber.  For a few years we didn't have a microwave, and I lamented the loss of my wheat bag every night.  Heating pad, hot water bottle... nothing else quite comes close.

With all that use, my wheat bags inevitably break down after a while.  I generally ask my MIL for a new one every Christmas, but even though I have 2 lovely new bags, I feel bad for the 2 sitting in my closet weeping little wheat tears.  Instead of chucking this guy out, or letting him languish, I decided to give him a little sprucing up!


This one's totally simple.  Take the wheat out of the ripped bag, make a new bag, and fill it with the old wheat.  I used the bottom of a vintage pillowcase I got at the thrift store, since I was feeling lazy and didn't want to sew too much!  

So here are the steps:

1) Cut fabric to your desired size.  I went slightly longer and skinnier for the new version.


2) Inside out, sew sides, leaving about a 4" opening to turn inside out.  I just left one whole short side.


3) Be sure to use small stitches and go over it twice just for security's sake.  You don't want wheat escaping all over the place when you use this bad boy.  I also serged to be safe.


4) Turn right side out and transplant wheat.


5) *optional step* Sew evenly spaced compartments so the wheat doesn't pool on one side of your bag.  (I only do this with long skinny ones, not squarish ones.)  It's best to do this as you fill it so you avoid sewing over wheat kernels.


6) Sew up the open side.  Twice.


Saturday, March 5, 2011

Made It: Toddler Yoga Pants

Cruising the Salvation Army this week, I found several sections of semi-awesome to awesome fabrics in their stash there.  I think I brought home about 6 or 7 rolls of varying lengths of fabric.One of the less fantastico, but more practical selections was a very lightweight heather grey jersey knit.  Perfect for some sweet yoga pants for a tiny boy!

I had this tutorial on the backburner, just waiting for when I had some appropriate fabric, and now is the time.  They really are as easy as she says they are.  The only possibly tricky part is measuring the waist of a child who has just recently learned how to suck his tummy in and doesn't like the cold measuring tape on his bare sensitive skin!

I think these pants had a total of 5 seams to stitch.  (I had a coordinating thread in my serger so I serged the edges, but it's probably not necessary.)

1) Making sure the stretch goes side-to-side instead of up and down, use a pair of pants that currently fits to trace a rough pattern of the legs.  EXCEPT for these pants, just do a straight wide leg.  Don't taper!


Like so:


2) Measure and cut waistband.  This will be a rectangle of 10 inches tall by (waist + 1 inch) wide.  The waist measurement is the stretchy way.  For Charlie this was 18 + 1 = 19 inches.  This was the tricky measuring, because the first rectangle I cut was only 16 inches and barely fit around his waist!


3) Fold in half, right sides together, and sew the waist band on the small (10 inch) side.


4) Right sides together, sew each leg from crotch down.

5) This part is also slightly tricky.  Put one leg inside out and one leg right side out.  Slip the right side out leg inside the inside out leg, and match up the "U" shapes.  I'm sorry if these instructions are confusing and mangled.  Pin, check Samster Mommy's instructions again to see if they're clearer, then sew.


6) Waistband time!  Fold the rectangular tube so that it is only 5 inches tall, right side out, and pin to the top of the pants (which you have also turned right side out), lining up the open unfolded end of the rectangle with the top opening of the pants.  Sew!


Honestly, I thought I would be able to explain it better than that.  But it's late and I'm feeling like my brain is a bit more mushy than usual.  Here are some pics of Charlie modeling with a frog book and a cookie cutter.


Something extra awesome about these pants: You could definitely make something VERY similar for yourself or another big person if you had more fabric and were so inclined.  Easy peasy!

Cost breakdown:  $2.49 for 1m of fabric (I suppose I'm assuming you have the machine to pull this off, and thread is negligible.  You could probably hand sew it if you had to...)

Wednesday, February 23, 2011

Week 8: Back bow skirt

(February 23, 2011)

My new job has something of a dress code: black or white, must be nice, must have collared shirt.  I'm getting mighty tired of wearing the same pants over and over again.  It's an affliction I think: when I was pregnant, some of my darkest days where those when I realized that I only had one pair of pants I could wear.  (I suppose this also means that I was blessed with a mostly happy and stress-free pregnancy...)

At any rate, I decided this week that I need a skirt to wear to work.  So here it is:


This is a VERY simple skirt.

1. hem


2. sew back seam


3. make a casing for elastic waistband (I used quite a wide elastic)
4. thread elastic through & sew ends together
5. close waistband casing
6. bunch extra fabric at back of skirt. secure with a few stitches
7. make a bow and attach at the back


If you would like more detailed instructions, these are the ones I used.

Cost breakdown: I bought the fabric specifically for this skirt.  I spent around $15 for elastic, fabric (I have about half of it left still), and measuring tape.  If you have some other fabric you want to use for a project like this, that would work too.  I think it works best with something of a stiffer fabric, with little to no stretch.  That way the bunching (ugh, what is the real word for this??) will hold nicely.

Friday, February 18, 2011

Week 7: Sam's Birthday

(February 17, 2011)

Yesterday was my little nephew Sam's 2nd birthday.  I wanted to make something fun and imaginative and versatile for a wonderful little boy who has just about anything a boy could want. Beanbags!


I don't think kids should be limited by their gender in what colours are appropriate for them.  So Sam gets bright orange and pink beanbags as well as green and blue. 


I also made Sam a little sticker book (because my little one has recently discovered that he LOVES stickers, and I thought Sam might too...) but it didn't turn out as well as I wanted it to.  If you want some instructions, this is the page I followed.   I will tell you, hot glue never turns out the way I want it to!  That, and I don't think wax paper is the same thing as freezer paper.

Happy birthday Sam!

Thursday, February 10, 2011

Made It: Notepad

Make it yourself!
 

Last week I found myself with a stack of one-sided pieces of paper to put in the recycling after going through our gigantic and neglected mail pile.  I also had been lamenting my lack of organization to keep up with my list habit.  I love making lists for stuff (to-do, groceries, projects, whatever...) and I like to use scrap paper for them, but often my little scraps get lost in the vortex of our computer desk.  I have in the past tried stapling scraps together, which is always slightly dissatisfying when you want to tear off a piece, and a paper clip might as well not even be there.  But I do have a sewing machine...


These are ridiculously easy to make, and another total no-brainer, but I LOVE them.  I love making my lists on them, I love tearing the pages off, I love knowing where my lists are now...  They're great.

Just cut your scrap pages into the size note pad you want (I cut in 3 sideways, where the folds would be to put it in an envelope).  I'm also pretty lax about the size of each page.  You can be as tidy or untidy as you want.  Then, using a wide straight stitch on my sewing machine I carefully feed the stack through, remembering to backstitch on both sides.  I didn't do that on one of mine, and now every time I tear off a page I can see the stitches pulling out.  I also have to do this very slowly, using the balance wheel on the side rather than the foot pedal, in order to help the needle through all the layers. 

The awesome part of this whole endeavor is that since the needle punches through the papers to sew them, it creates a perforation that makes tearing a page out of your notebook SO EASY!  This is one of my favourite little projects lately.  And you could totally dress up this project any way you like.  Right now I'm just doing it in a very utilitarian way, but you could use fancier papers, coloured thread, different sized pages... you are limited only by your imagination!

Monday, January 31, 2011

Week 5: Almost Emmeline Apron

(January 31, 2011)

This weekend we took a little trip to visit my parents.  We thought it would be fun for Charlie to hang with his grandparents for a bit and for us to take the opportunity for a night out with free babysitting!  An added bonus of this trip was a little project I had in mind that I was pretty sure I wouldn't be able to do by myself.  My mom is crazy about projects.  Sometimes when she's visiting us I make up a project just so she won't go stir crazy.

Confession time: I love aprons.  I already have 3 cute ones in my regular rotation that I got from antique malls, but 2 of them are the half skirt kind, which don't protect my main spill area, and the other doesn't fit me right or something.  Something about it just feels shlumpy, which is NOT how I want to feel while wearing an apron.  I love the idea of being sassy in an apron.  Some kind of juxtaposition between domestic and fantastic.  So when I found this picture, I was smitten.  I think this might be sort of a no-no, but I couldn't really justify spending $11.95 on a pattern for an apron that I don't really need.  And I figured, "I could probably make that..."  Well what I really thought was "I bet my mom could figure that out... and then I could probably make it"

So we teamed up, searched through her amazing fabric stash, selected some prints she didn't really need, and went to work!


Here's my mom, taking charge

The pattern was pretty tricky, and by the end of Day 1 I was ready to give it up and sacrifice the cut fabrics to the quilt scrap bin, but my mom persevered (and ripped out the seams) and thought up a new plan for Day 2.  Her direction worked like a charm and I merely did as I was told. 

This apron is perhaps not exactly like the emmeline apron, but it's close enough for me!  Now I need to go put on my apron and make something.  Thanks mom!


Wednesday, January 19, 2011

Week 3: Tea Cozy

(January 17, 2011)

I've been a tea enthusiast for the last 11 years (ahh those dorm room tea parties... so nice.) but the whole time without a cozy. Whenever I went to buy one in a store I always stopped, thinking "I could probably make that" but never did. And now I have one!  It's quite a bit taller than my teapot though, so I think it's probably more effective rolled up, as in the last pic.

cost breakdown: free!  (Scraps again!  My mom found me all these great little Japanese hand towels the last time we were there, and the liner is made from a linen skirt I cut up a while ago.  The sad part is that all the towels are different, so there are no more in this awesome pattern.  Both sides came from the same towel!)