With all that use, my wheat bags inevitably break down after a while. I generally ask my MIL for a new one every Christmas, but even though I have 2 lovely new bags, I feel bad for the 2 sitting in my closet weeping little wheat tears. Instead of chucking this guy out, or letting him languish, I decided to give him a little sprucing up!

This one's totally simple. Take the wheat out of the ripped bag, make a new bag, and fill it with the old wheat. I used the bottom of a vintage pillowcase I got at the thrift store, since I was feeling lazy and didn't want to sew too much!
So here are the steps:
1) Cut fabric to your desired size. I went slightly longer and skinnier for the new version.

2) Inside out, sew sides, leaving about a 4" opening to turn inside out. I just left one whole short side.

3) Be sure to use small stitches and go over it twice just for security's sake. You don't want wheat escaping all over the place when you use this bad boy. I also serged to be safe.


4) Turn right side out and transplant wheat.

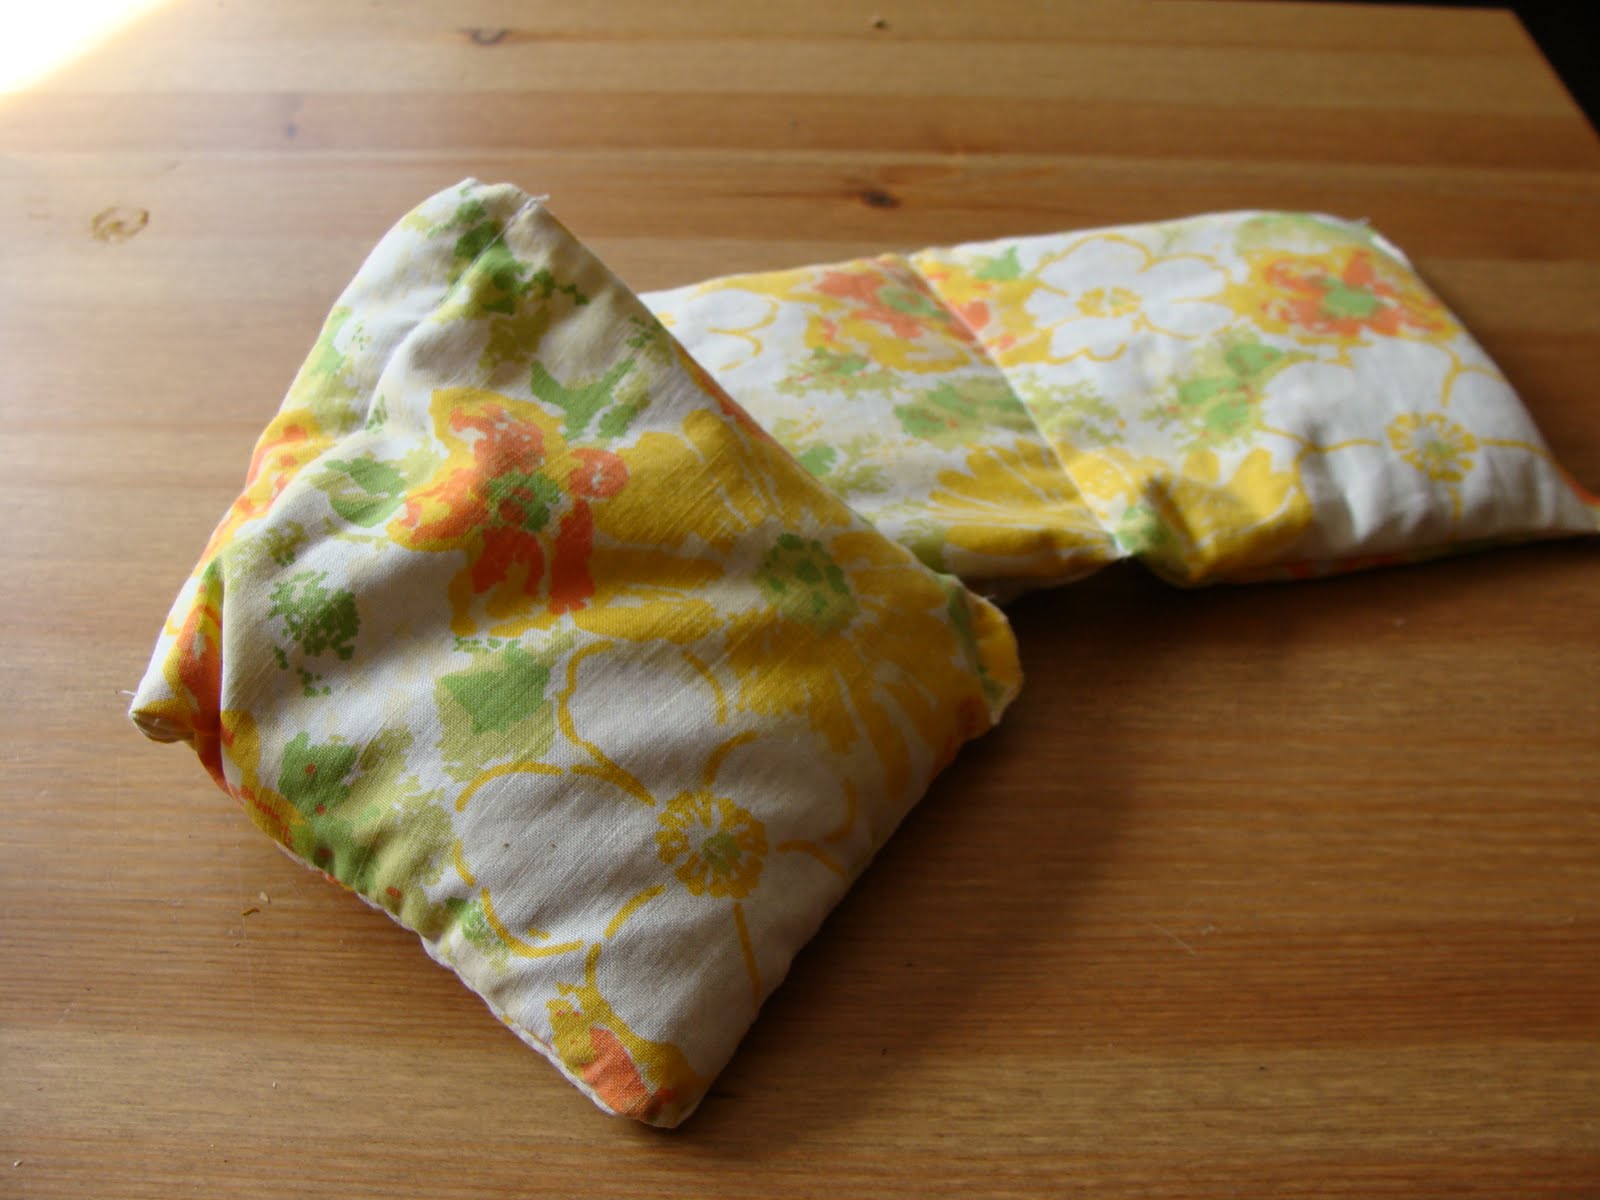
5) *optional step* Sew evenly spaced compartments so the wheat doesn't pool on one side of your bag. (I only do this with long skinny ones, not squarish ones.) It's best to do this as you fill it so you avoid sewing over wheat kernels.

6) Sew up the open side. Twice.
No comments:
Post a Comment