
Can you guess what kind of Easter craft these might go into??? Oh right, I totally gave it away in the title...
Ever since I had gestational diabetes with my second baby, I've been a bit worried about my sugar intake, as well as my 3 year old's. And there's nothing like a holiday to rake in the sugary treats!! (I know it probably seems like this stance contradicts the last post, but those chocolates are actually very low in sugar!)
So I struggle to come up with an appealing Easter basket for my sweet boy that isn't just loaded with treats. I'll probably put one or two in there, and I am quite sure he'll get his fill from relatives eager to give him good stuff, so you don't have to be worried that he's totally deprived.
Anyway! Back to the craft. I had been wanting to make this little cutie, but not entirely sure how. Various websites advise either filling plastic egg halves with wax and sandwiching them together or using a certain jello egg mold. I figured it would be next to impossible to find the mold (though it sounded much easier!) so I set out on a quest to my local thrift stores for old crayons and plastic eggs. I did not find a single crayon in any of the 3 shops I checked, but I did find the egg mold!!! UNBELIEVABLE!!! Still had the tag on with instructions and everything. So after first making my boy a few jello eggs... I was ready to get started!
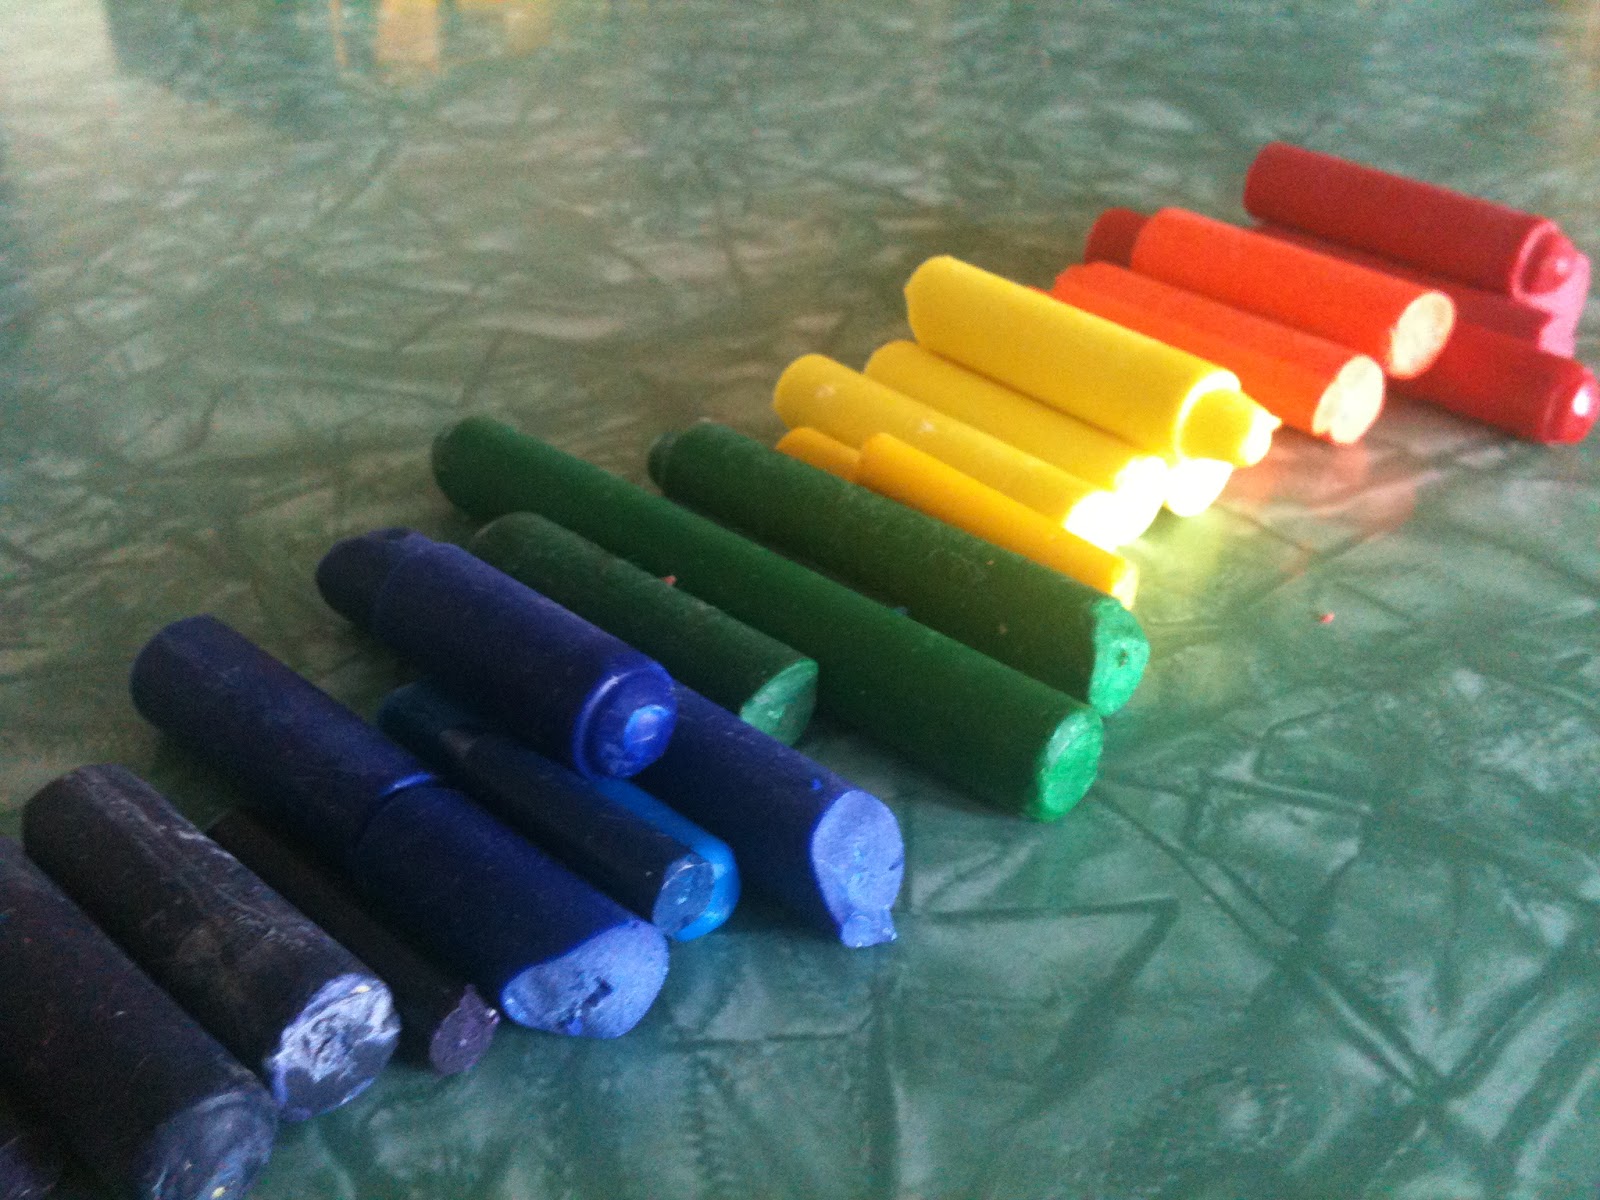
Step 1: peel and sort crayons

Step 2: admire the rainbow
Step 3: melt crayons. I used clean tin cans in a water bath in my electric frying pan. I don't know how other people do it, but I remember my mom using this method when she would make batiks when I was little. Worked like a charm! The only bad part was when I dropped a tiny piece of yellow crayon in the water bath and it started melting instantly. I was worried I'd have to throw the frying pan away, but it looks as though I've managed to get all the wax off. Phew! You know how it is when your brother uses your mom's iron to wax his skis and then the iron forever after smells like ski wax? Oh you don't? Well, it's gross, and you don't want your pancakes smelling or tasting like melted crayon. If that happens I suppose I'll have to toss it...

Step 4: gently and slowly pour melted crayon into molds. I pinched each can into a sort of pouring spout to make this easier. And it turns out that these molds are HUGE. I thought for sure I had enough of each crayon to fill the molds, but none of them were much more than half full. However, I think this is probably better. A whole jumbo-sized crayon egg would be pretty tricky to draw with.

Step 5: pop those babies out and stick 'em in an egg carton. Cute! I think the reason some of them look a little funny is because of some residual oil left on them after I made the jello eggs. I figured it would probably help make them come out easier, but it ended up almost preventing the wax from setting in those spots.

This is what the backs look like, which I think is almost as good.


